Safe Windows setup checklist
Most install failures are skipped Windows settings. Follow this checklist before you blame the client.
Why Installs Fail Before the Game Even Opens
The overwhelming majority of "it doesn't work" support messages have nothing to do with a broken download or a defective product. They come from a handful of Windows settings that were never checked, or that were checked once and quietly reverted after a system update. DOTA2 Cheats depends on a specific set of platform features being enabled and confirmed before the client is even installed, and skipping that confirmation step is the single most common reason a first-time setup goes sideways.
This is not unique to this product. Any tool that relies on modern Windows security features to function reliably runs into the same category of problem: users assume a feature is on because they remember turning it on once, months ago, without realizing a Windows feature update or a BIOS flash reset it in the background. The fix is not more troubleshooting after the fact, it is a short, repeatable verification pass before the fact, every single time.
This article is that verification pass, written out in full. Read Cloud DMA explained first if you have not already, since it covers the reasoning behind why each of these settings matters rather than just the mechanical steps to enable them. Understanding the "why" makes the "how" far less tedious to actually follow through on.
The Full Checklist at a Glance
Before diving into each step in detail, here is the complete checklist as a single reference you can come back to later without rereading the whole article. Print it, screenshot it, or just keep this page open in a second tab while you work through your own machine.
- Confirm Windows 10 or Windows 11, 64-bit, fully updated.
- Enable TPM (version 2.0 where applicable) in BIOS/UEFI.
- Enable Secure Boot in BIOS/UEFI.
- Enable HVCI and Core Isolation inside Windows Security.
- Restart the machine and verify every setting above actually stuck.
- Complete checkout and receive dashboard credentials.
- Download and install the client from the dashboard, not from a third-party mirror.
- Complete the Cloud DMA portion of setup rather than skipping it for a partial install.
- Launch a private lobby or bot match first to confirm the overlay renders before jumping into ranked.
Every one of these steps gets its own section below, including what it looks like when something goes wrong and what the fix usually is.
Step 1: Confirm Your Windows Version and Build
Start with the basics before touching any security setting. Open Settings, go to System, then About, and confirm you are running a 64-bit version of Windows 10 or Windows 11. This matters because some of the security features referenced later, particularly newer implementations of HVCI, behave differently or are simply unavailable on older or 32-bit builds.
While you are in that menu, check Windows Update and install anything pending, including optional driver updates if your system is showing them. A surprising number of setup failures trace back to an outdated chipset or GPU driver that has nothing to do with the actual security toggles, but that interacts badly with them anyway. Getting Windows itself current before touching anything else removes an entire category of confusing, hard-to-diagnose issues later.
If you are on an older Windows 10 build that has not received feature updates in a long time, consider whether you are also eligible for Windows 11. Newer builds tend to have more mature, less buggy implementations of the exact features this checklist depends on.
Step 2: Enable TPM and Secure Boot in BIOS/UEFI
TPM and Secure Boot both live in your motherboard's firmware, not inside Windows itself, which is why they trip people up more than the Windows-side settings do. To get here, restart your PC and enter BIOS/UEFI setup, usually by pressing Delete, F2, F10, or F12 during the very first moment of boot, depending on your motherboard manufacturer. The exact key is almost always shown briefly on the boot splash screen if you are paying attention during restart.
Once inside BIOS, look for TPM under a Security tab, sometimes labeled PTT (Platform Trust Technology) on Intel systems or fTPM (firmware TPM) on AMD systems. Enable it if it is not already on. Separately, look for Secure Boot, usually under a Boot tab, and confirm it is set to Enabled rather than Disabled or "Other OS." Save changes and exit, which typically triggers an automatic restart.
- Intel systems: look for "PTT" or "Intel Platform Trust Technology" under Security or Advanced settings.
- AMD systems: look for "fTPM" or "AMD fTPM switch" under similar menus.
- Secure Boot: usually requires UEFI boot mode rather than legacy/CSM boot mode to even be selectable.
If Secure Boot is grayed out and cannot be enabled, your system may currently be set to Legacy or CSM boot mode instead of UEFI. Switching that over sometimes requires reinstalling Windows in UEFI mode, which is a bigger step, but is usually only necessary on older systems that have never been touched since their original build.
Step 3: Enable HVCI and Core Isolation in Windows Security
Back inside Windows, open Windows Security, then Device Security, then Core Isolation. Toggle Memory Integrity, which is the user-facing name for HVCI, to On. Windows may prompt you to restart to apply the change, which is expected and normal.
If the toggle is grayed out or refuses to switch on, the most common cause is an incompatible driver, frequently an older graphics driver, capture card driver, or a leftover driver from previously uninstalled software. Windows Security often names the specific incompatible driver directly on this same page if that is the blocker, which saves you from guessing. Update or remove the flagged driver, then return and try the toggle again.
It is worth checking this page again a week or two after your initial setup, not because it is expected to fail, but because major Windows feature updates occasionally reset security defaults during the upgrade process. A thirty-second glance after any big Windows update saves a confusing troubleshooting session later.
Step 4: Reboot and Verify Settings Actually Stuck
This step gets skipped constantly, and it is arguably the most important one in the whole list. After making BIOS and Windows Security changes, restart fully, then go back into both BIOS and Windows Security and confirm the settings are still showing as enabled rather than just assuming they saved correctly the first time.
Specifically: reopen BIOS/UEFI and confirm TPM and Secure Boot both still show Enabled. Reopen Windows Security, Device Security, Core Isolation, and confirm Memory Integrity still shows On. This double-check takes under two minutes and catches the handful of cases where a setting silently failed to save, which is far less frustrating to catch now than after a failed install attempt ten minutes later.
You can also confirm TPM status quickly from within Windows by running tpm.msc from the Start menu search bar, which opens the TPM Management console and shows whether TPM is present, enabled, and ready. Similarly, running msinfo32 and checking "Secure Boot State" in the System Summary confirms Secure Boot status without going back into BIOS at all.
Step 5: Purchase and Receive Credentials
With Windows fully prepared, checkout is the next step rather than the first one. Complete purchase through the zadeyo checkout page, where you select a plan and complete payment. Dashboard access and delivery credentials arrive shortly after checkout completes, without a manual approval wait.
Doing the Windows checklist first, before buying, means your first login to the dashboard is immediately followed by a working install rather than a frustrating troubleshooting session on day one. This ordering is deliberate advice, not an arbitrary suggestion: setup problems discovered before you have paid feel like preparation, while the same problems discovered right after paying feel like a defect, even though the underlying fix is identical either way.
Step 6: Install the Client and Complete the Cloud DMA Portion
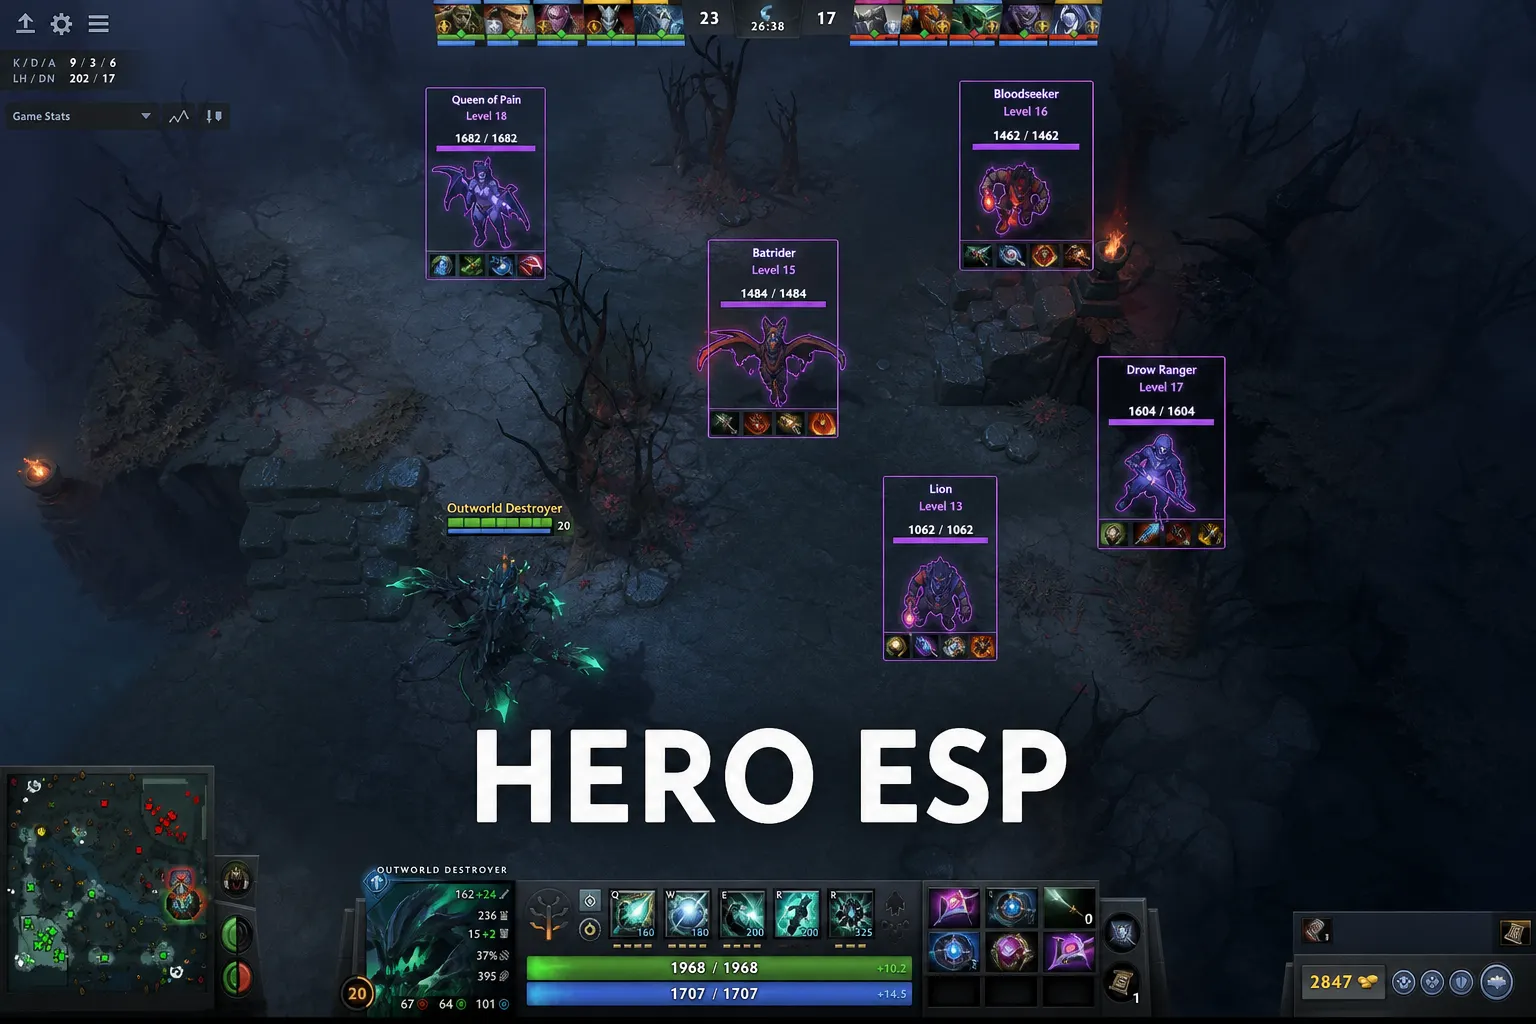
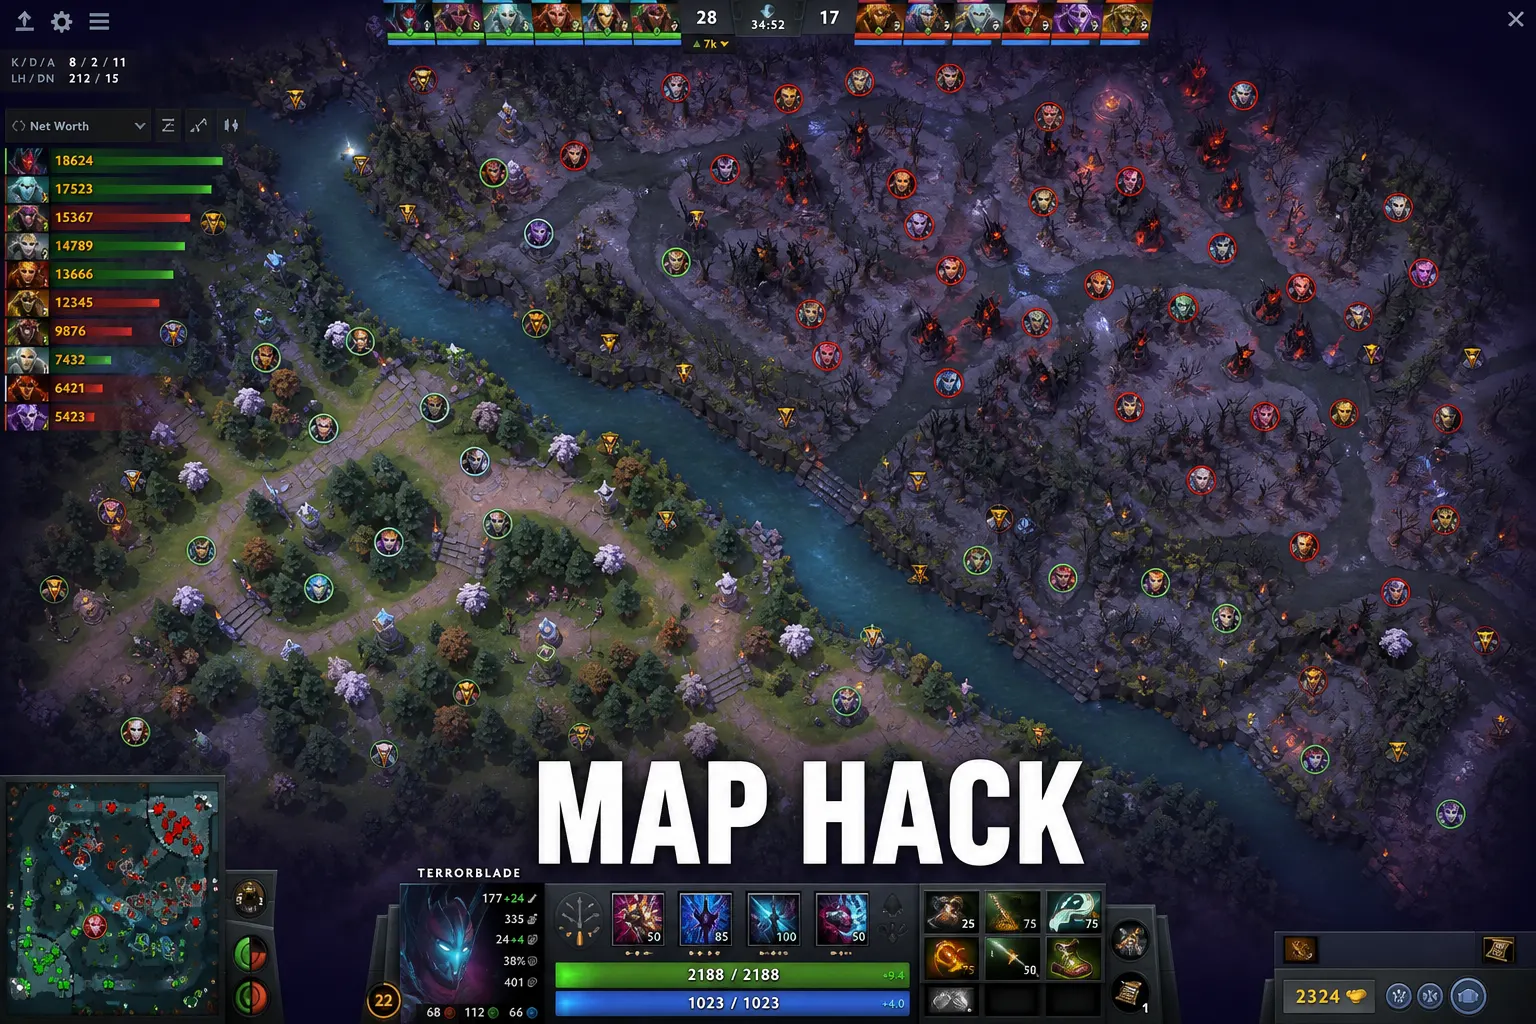
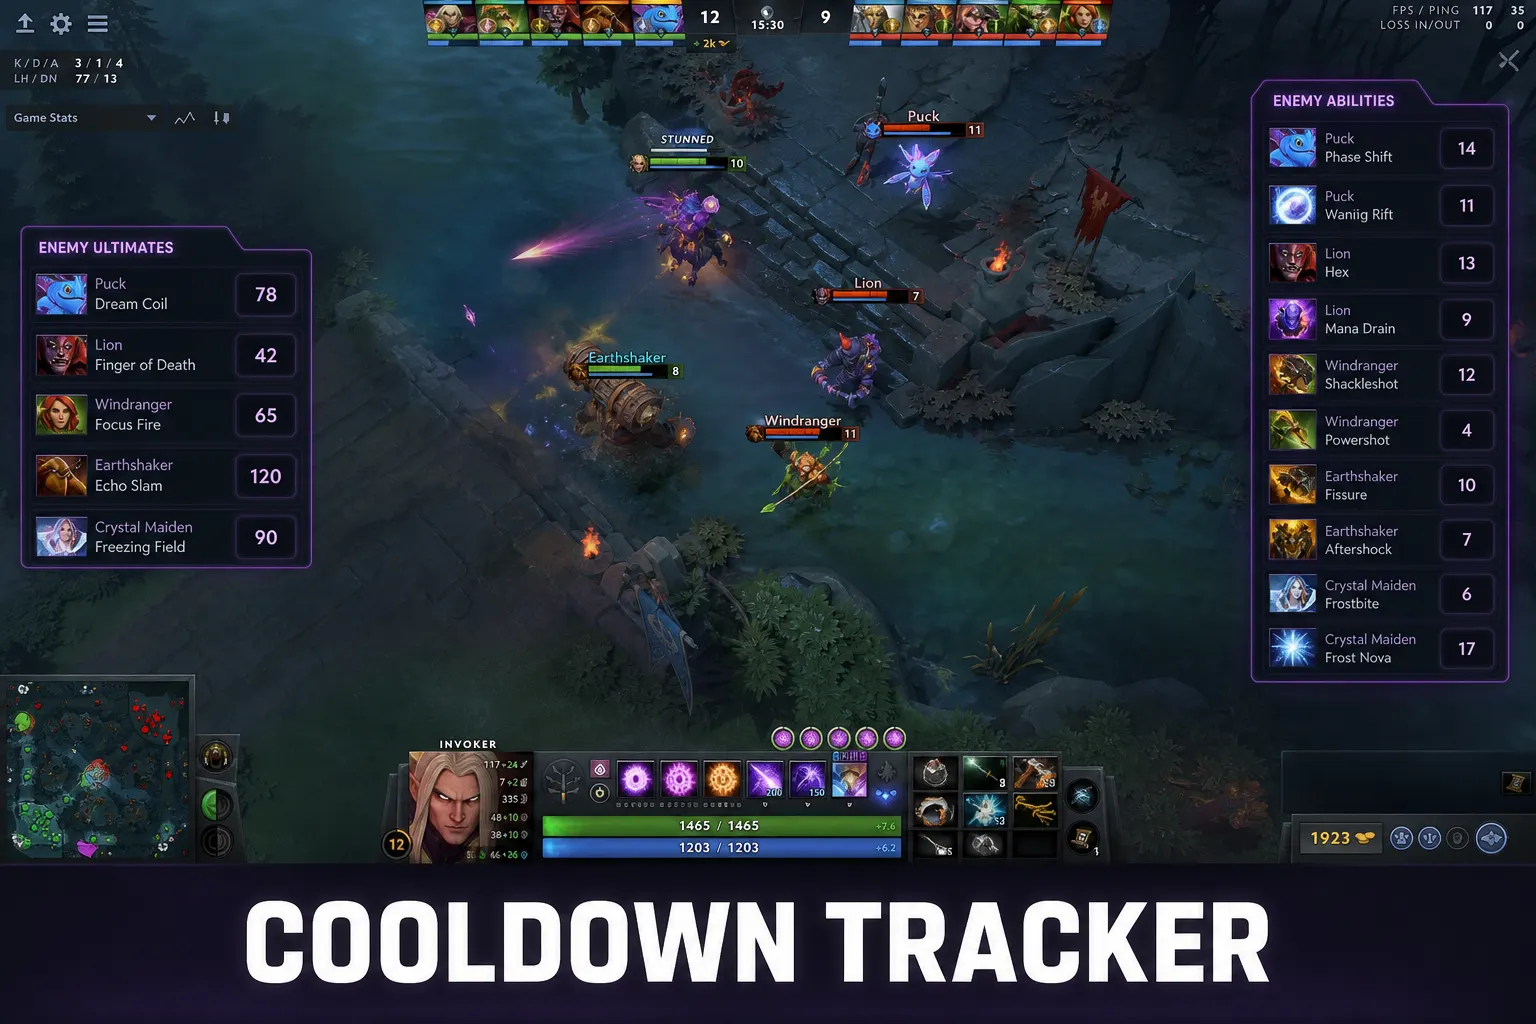
Download the client directly from your dashboard, never from a third-party mirror, forum link, or file-sharing site, regardless of how convenient it looks. Run the installer and follow the on-screen steps in order. Pay particular attention to the Cloud DMA portion of setup rather than skipping past it or leaving it half-configured, since that step is what unlocks full ESP, map information, and timer functionality rather than a stripped-down partial experience.
If you have not already read it, Cloud DMA explained covers exactly what this portion of setup is doing under the hood and why it depends directly on the Windows checklist you just completed. Understanding the reasoning here also makes it much easier to troubleshoot independently later if a future Windows update ever disrupts something, rather than needing to ask for help every time.
After installation completes, do not jump straight into a ranked match. Launch a private lobby or a bot match first and confirm the overlay is actually rendering hero information, timers, and map data correctly. This costs a few minutes and catches configuration issues in a low-stakes environment instead of mid-ranked-game.
Performance Expectations After Setup
Once everything above is correctly configured, performance should feel close to running DOTA 2 with no overlay at all. The architecture is specifically built for low CPU and memory impact, with the heavier memory-reading work handled through the Cloud DMA pipeline rather than sharing your game's own rendering thread. Most users on a reasonably modern gaming PC should not notice a meaningful frame rate difference.
If performance does tank after installation, the cause is more often something unrelated stacking on top of the setup than the setup itself. Common culprits include other overlay software fighting for the same rendering hooks (recording software, chat overlays, or a second monitoring tool running simultaneously), an outdated GPU driver that Step 1 should have already caught, or a laptop stuck in a battery-saving power profile that throttles performance regardless of what is installed. Rule these out methodically before assuming the setup itself is at fault.
It also helps to close unnecessary background applications before a ranked session generally, which is good practice independent of any tool and simply frees up resources for both the game and the overlay to run smoothly.
License Notes and Machine Binding
A single license is tied to a single machine, which is a standard model across most software in this space and exists to keep the service sustainable and support manageable. If you upgrade your PC, replace a motherboard, or otherwise trigger a significant hardware fingerprint change, that can occasionally look like a new machine to the licensing system.
If you know a hardware change is coming, reach out through Discord support beforehand rather than after the fact. A quick heads-up before a planned upgrade makes a license transfer a fast, straightforward process. Discovering the binding issue after the fact, mid-upgrade, with no prior context for support to work from, takes longer to resolve simply because there is more to untangle.
Full licensing terms, including what counts as a qualifying hardware change and how transfers are handled, are kept current on the FAQs page rather than duplicated here, since terms occasionally get refined and a single source of truth avoids conflicting information across the site.
Refunds: Case by Case, Not Automatic
Refunds are evaluated case by case rather than offered automatically, and that is a deliberate policy rather than an oversight. A large share of refund requests trace back to skipped setup steps rather than an actual product defect, and the checklist in this article exists specifically to close that gap before it ever becomes a refund conversation. Technical issues reported quickly, with clear detail about what was tried, are handled far more favorably than vague reports filed days after the fact with no diagnostic information attached.
If you do run into a genuine issue after following every step in this checklist carefully, the right move is to document exactly what you tried, including screenshots of your Core Isolation and TPM status, and bring that directly to support rather than requesting a refund as a first resort. Most "broken" reports turn out to be one missed toggle away from working correctly, and a quick diagnostic conversation resolves far more cases than a refund would have.
Common Errors and What They Usually Mean
A short reference for the errors and symptoms that come up most often, and what they typically point back to:
- Overlay does not render at all: almost always Core Isolation / HVCI showing as off, or a restart that has not happened yet after enabling it.
- Overlay flickers or partially renders: often a background overlay conflict (recording software, another game overlay) rather than a Cloud DMA problem itself.
- Client fails to launch or attach: check that TPM and Secure Boot are both actually enabled in BIOS, not just present as hardware.
- Settings appear to revert after a Windows update: re-run Steps 2 through 4 after any major Windows feature update, since these can silently reset security defaults.
- Performance drop after install: rule out GPU drivers, background overlay conflicts, and laptop power profiles before assuming the tool is the cause.
Working through this list in order, before escalating to support, resolves the majority of first-time setup issues without needing to wait on a reply at all.
Verification After Reboot: A Second Pass
Even after a successful first install, it is worth building the habit of a quick verification pass after any subsequent reboot, Windows update, or BIOS change going forward. This is not paranoia, it is simply acknowledging that Windows and firmware settings are not permanently locked in place the moment you first set them, and revisiting them costs very little time compared to the alternative of troubleshooting blind later.
A fast version of this pass: open Windows Security and confirm Memory Integrity still shows On, run tpm.msc to confirm TPM is still present and ready, and launch a quick private lobby to visually confirm the overlay is rendering before jumping into a ranked queue. This entire pass takes well under five minutes and eliminates the vast majority of "it suddenly stopped working" reports that turn out to be a silently reverted setting.
Getting Help on Discord
If you have worked through the full checklist above and something still is not behaving correctly, Discord support is the fastest path to an actual answer, faster than a ticket queue and staffed by people who work with this exact setup process regularly. Bring specifics: your Windows version, whether Memory Integrity shows enabled, whether TPM and Secure Boot are confirmed in BIOS, and the exact symptom you are seeing rather than a general "it doesn't work."
Screenshots of the Windows Security Core Isolation page and a clear description of what the overlay is or is not doing (nothing rendering, partial rendering, a crash on launch) are the two most useful pieces of information you can bring to a support conversation. Specific reports get resolved in one exchange far more often than vague ones do.
Laptop-Specific Considerations
Laptops introduce a few wrinkles that desktop users rarely encounter. Manufacturer BIOS menus are often more restricted than a typical desktop motherboard, sometimes hiding TPM and Secure Boot toggles under vendor-specific menu names or nesting them a level or two deeper than expected. If a laptop's BIOS genuinely does not expose these settings in an obvious place, searching the manufacturer's official support site for your exact model number, followed by "TPM" or "Secure Boot," almost always turns up the correct menu path faster than clicking through every BIOS screen manually.
Power management is the other laptop-specific issue worth flagging. Many laptops default to a balanced or battery-saving power plan even while plugged in, which throttles CPU and GPU clocks in ways that can look exactly like a Cloud DMA performance problem but have nothing to do with it. Before troubleshooting anything else on a laptop, switch to a high-performance or "best performance" power plan while gaming, and confirm the laptop is actually plugged into power rather than running on battery, since battery mode alone can meaningfully reduce available performance headroom.
Hybrid graphics setups, common on gaming laptops with both an integrated GPU and a dedicated one, occasionally cause overlay rendering to attach to the wrong graphics adapter. If the overlay behaves inconsistently on a laptop specifically, checking that DOTA 2 and the client are both set to run on the dedicated GPU, rather than the integrated one, through your graphics control panel settings is worth confirming.
Multi-Monitor and Overlay Conflicts
Running multiple monitors, or running other overlay software like recording tools, voice chat overlays, or performance monitoring widgets, occasionally creates rendering conflicts that are easy to misdiagnose as a Cloud DMA problem. These tools frequently hook into the same graphics rendering pipeline, and when two overlays fight for the same hook, the symptom is often a flickering, partially rendering, or entirely missing overlay element that has nothing to do with your Windows security settings at all.
If you experience overlay issues specifically after installing new recording or streaming software, or after adding a new monitoring widget, temporarily disabling those other overlays one at a time is a fast way to isolate whether the conflict is coming from Cloud DMA itself or from a competing piece of software. This same troubleshooting approach applies to standalone FPS counters, hardware monitoring overlays, and some game launcher overlays as well.
Fullscreen versus borderless windowed mode in DOTA 2's own display settings can also affect how reliably any overlay renders on top of the game. Borderless windowed mode is generally the more compatible choice for overlay-based tools across the board, and switching to it is a quick, low-risk troubleshooting step if you are running true exclusive fullscreen and encountering rendering inconsistencies.
A Pre-Ranked Warmup Routine
Building a short, consistent warmup routine before jumping into ranked queue catches most remaining issues before they cost you a match with real stakes attached. This routine takes only a few minutes but pays for itself the first time it catches a problem before a ranked game rather than during one.
- Launch DOTA 2 and confirm the client and overlay both attach cleanly in the main menu.
- Start a bot match or private lobby and confirm hero position, item, and timer information all render correctly.
- Glance at Windows Security's Core Isolation page if it has been more than a few days since your last check, especially after any recent Windows update.
- Close unnecessary background applications, particularly other overlay software, before queuing.
- Only queue for ranked once every element above has been visually confirmed working.
Skipping this warmup to save two or three minutes is exactly how minor, easily caught issues turn into a disrupted ranked match instead. The small time investment up front is consistently worth it.
Where to Go Next
For the reasoning behind why this checklist exists in the first place, read Cloud DMA explained in full. For what the overlay looks like once everything is configured correctly, check the features page and the demo. For strategic guides on actually using the information once setup is complete, see the Hero ESP guide and the ward vision guide. Common licensing and setup questions are collected on the FAQs page, and the broader resources hub links out to additional reference material across the whole site.
Ready to move forward once your checklist is complete? Checkout is available through the zadeyo checkout page. A few minutes of preparation now, following the steps in order, is the difference between a smooth first session and an avoidable troubleshooting detour.