
Roshan timer and Aegis windows
Roshan is not a panic button. It is an information objective. This guide covers vision, Aegis conversion, and when to refuse the pit.
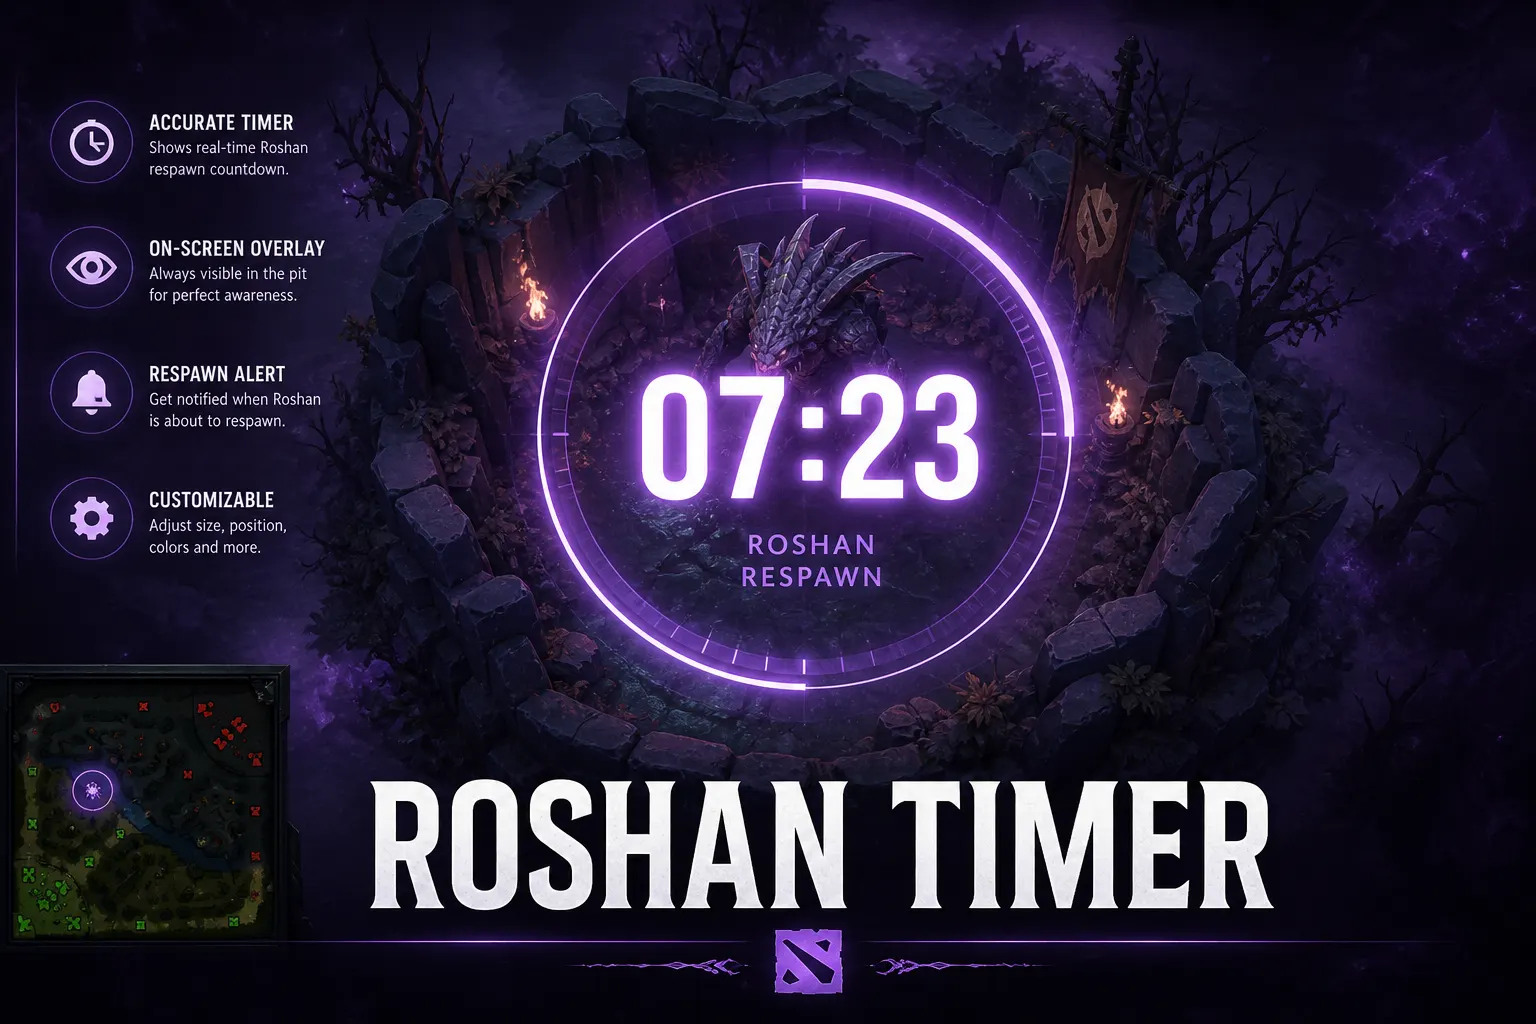
Roshan as an Information Objective, Not a Panic Button
Watch enough ranked pubs and a pattern becomes obvious: Roshan gets treated as an emotional decision rather than a tactical one. Teams that are ahead take it late, almost as an afterthought, because the game already feels won. Teams that are behind take it desperately, hoping a single Aegis will reverse a lost lane phase and a lost midgame in one swing. Both approaches fail more often than they should, and the common thread is the same in both cases: nobody actually treated Roshan as an information objective before committing to it.
An information objective is one where the value comes primarily from what you learn and what you can force afterward, not just from the raw stat line of the kill itself. Roshan gold and experience matter, but the real prize is Aegis and the tempo it buys you, and that tempo is worthless if the fight to actually convert it never happens because your team farmed alone for six minutes afterward. Treating the pit as "step one of a two-step plan" rather than "the plan" is the single biggest mindset shift that separates teams that consistently profit from Roshan and teams that occasionally get lucky with it.
This guide walks through that mindset in concrete terms: what actually needs to be true before you commit, how to convert a successful kill into a real objective, when refusing the pit is the correct call, and how the tools available on DOTA2 Cheats remove guesswork from timing without removing the actual decision-making that still has to happen around it.
How the Roshan Timer and Respawn Window Actually Work
Roshan's respawn window is not a single fixed number, it is a range, and misunderstanding that range is one of the more common sources of confusion in pub games. After Roshan dies, there is a minimum time before he can respawn and a separate, later point by which he is guaranteed to have respawned if nobody has killed him again. Between those two points, his presence becomes uncertain unless someone actually has current vision of the pit.
This is exactly the gap that a proper timer tool closes. Instead of a squad captain trying to mentally track "it has been about fifteen minutes since the last kill, I think," the timer overlay converts that fuzzy memory into an exact countdown, plus a clear indicator of when the window opens for "he might be up" versus "he is definitely up." That distinction matters enormously for planning: contesting the pit the moment the window opens is a very different risk profile than walking in after the guaranteed respawn point with no scouting at all.
None of this replaces actually sending someone to look. A timer tells you when it is worth checking. It does not replace the check itself, because Roshan being alive or dead the instant before you arrive is still something only direct vision can confirm with certainty.
Aegis Conversion: Turning a Kill Into an Objective
Killing Roshan and then splitting up to farm separate jungle camps is one of the most common ways a team throws away the value of the kill they just secured. Aegis grants a free respawn with a countdown timer of its own, and that countdown is a ticking clock on your team's leverage, not a passive buff to enjoy quietly while soloing camps across the map.
The correct sequence looks like this: decide who receives Aegis before the kill lands, not during the post-kill scramble when three people are typing "I need it" in chat. The moment Aegis is picked up, move as a coordinated group toward an actual objective, whether that is a contested tower, a forced high ground push, or baiting a fight on favorable terrain. The goal is to spend the Aegis holder's temporary invincibility against something that matters, not to let the clock run out while everyone farms separately and calls it "efficient."
- Assign the Aegis carrier before the kill, based on who benefits most from a guaranteed extra life right now.
- Group immediately after the kill instead of splitting to farm.
- Pick one concrete objective, a tower or a forced fight, and commit to it as a team.
- Start tracking the next Roshan spawn the moment this kill finishes, instead of forgetting until someone panics about it fifteen minutes later.
Teams that follow this sequence consistently get far more mileage out of every single Roshan kill than teams that treat Aegis as a personal reward rather than a shared, time-limited resource.
When Not to Take Roshan
Refusing a Roshan attempt is an underrated skill. The instinct to take an available objective is strong, especially when your team has just won a fight nearby and the pit is sitting right there. But an available objective is not automatically a correct one, and pub games are full of Roshan attempts that look easy right up until they are not.
A short list of red flags worth treating seriously: three or more enemy heroes are unaccounted for on the map and your team has no detection to check the surrounding cliffs and smoke lanes. Your team's buyback gold is scattered or fully spent while the enemy's is intact and ready. The enemy's key initiation or team-wide ultimate is available while yours is on cooldown from the fight you just finished. Any one of these alone is a caution flag. Two or more together should usually cancel the attempt entirely, no matter how tempting the pit looks in the moment.
Ego is the biggest obstacle here, not game knowledge. Most players intellectually understand these red flags when reading about them in an article. Far fewer actually walk away from a "free" looking Roshan when their teammates are already typing "go go go" in chat. Building the discipline to call off a bad attempt, even when it is unpopular in the moment, is worth more MMR over a season than any single successful pit kill.
The Vision Checklist Before Every Pit Attempt
Vision is the single most controllable variable in every Roshan decision, which makes it the first thing to check and the first thing to blame when a pit attempt goes wrong. A useful pre-commitment checklist looks like this:
- Do you have a ward or Observer covering the direct approach paths into the pit, not just the pit itself?
- Is there vision on the river and nearby high ground where an ambush could realistically be staged?
- Does anyone on the team have detection available if the enemy is known to run invisibility heroes or Smoke of Deceit frequently?
- Has vision actually been refreshed recently, or is your team relying on a ward that expired eight minutes ago?
Read the full ward vision guide before treating any of this as optional. Vision discipline around Roshan is really just the general vision principles from that guide applied to the single highest-value piece of real estate on the map. Teams that already ward well in general tend to make far fewer disastrous Roshan calls, because the habit of checking vision before committing is already built into how they play.
Buyback Math in Pubs
Buyback gold is one of the most under-discussed variables in pub Roshan calls, and it deserves more attention than it usually gets. A team with full buyback available can afford to be aggressive around the pit, because even a bad fight only costs gold and a short respawn timer rather than an actual game-ending disadvantage. A team with buyback gold spread thin or fully spent is playing with a much smaller margin for error, and that margin should directly influence how aggressively that team commits to contested objectives.
Before initiating a Roshan attempt, take ten seconds to mentally tally your own team's buyback status against the enemy's. If your team just spent everything on items and has effectively zero buyback available while the enemy has three players fully buybacked, you are not just risking a bad fight, you are risking a fight you cannot recover from even if it goes only moderately poorly. That asymmetry alone is sometimes reason enough to delay an attempt by a few minutes until gold recovers.
This is also a case where information about enemy net worth and recent deaths, tracked through hero position and general game awareness, helps estimate the other team's buyback status even without perfect knowledge of their gold totals. An enemy core who died twice in the last three minutes has almost certainly spent buyback gold recently, and that is exactly the kind of signal worth factoring into your own team's risk calculus before committing to the pit.
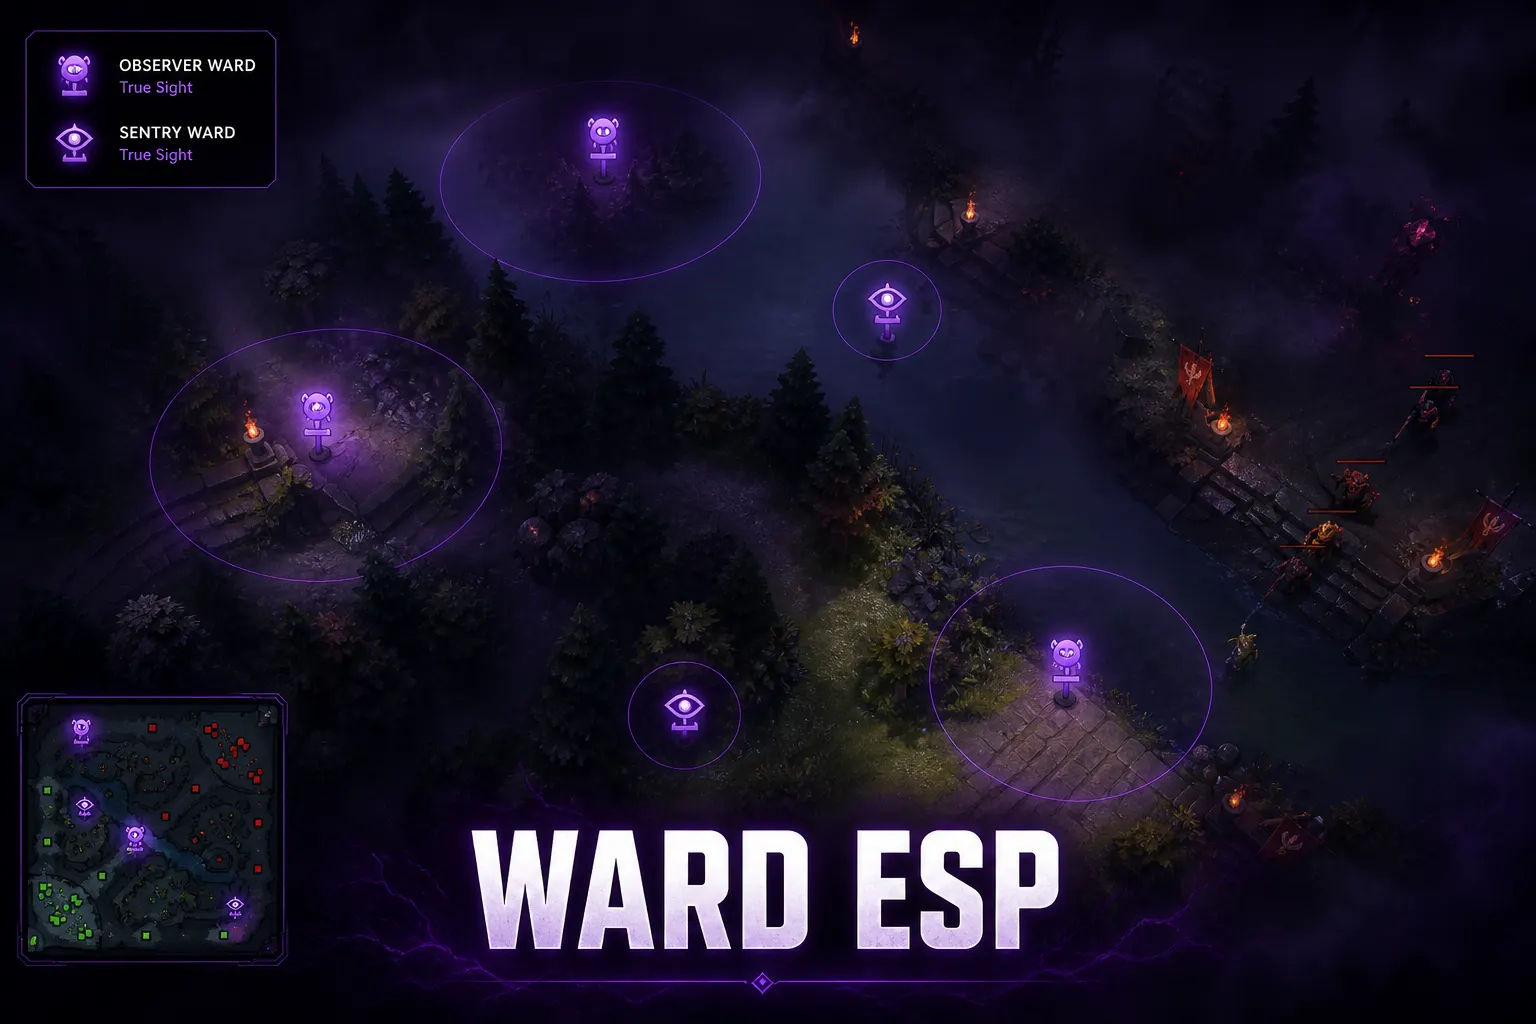
Second and Third Roshan: How the Stakes Change
The calculus around Roshan changes meaningfully after the first kill. Aegis drops from the second kill get more valuable as the game progresses, since a free respawn during a thirty-five-minute megacreep push matters far more than one during a fifteen-minute skirmish. At the same time, the enemy team is now fully aware that Roshan matters, and second and third attempts tend to be contested far more aggressively than the relatively uncontested first kill often is.
By the time a second or third Roshan is up, treat the pit as a near-certain fight location rather than a quiet farm opportunity. Both teams usually know the timer, both teams usually want the Aegis, and the side that shows up with better vision, better cooldown availability, and a clearer plan for what happens immediately after the kill is the side that actually walks away with the objective. Sloppy, uncoordinated attempts at this stage of the game are punished far more harshly than they would have been in the opening fifteen minutes.
It is also worth noting that a Cheese drop, which appears starting from Roshan's second death, adds another layer of value worth planning around, since it provides a full heal and mana restore on demand later in the fight where the Aegis alone might not be enough to survive a follow-up engagement.
Role Jobs at the Pit
A well-run Roshan attempt divides responsibility clearly instead of leaving five players doing the same thing while nobody actually watches the approach paths. A rough division that works well in pubs:
- Carry: deals the bulk of the damage and stays positioned to escape quickly if the attempt gets contested mid-fight.
- Mid: supplements damage and holds a spell or item in reserve specifically for a contest fight rather than dumping everything into Roshan alone.
- Offlane: tanks Roshan's melee attacks up front and is often the natural Aegis carrier given their durability.
- Soft support: watches the minimap actively during the kill and calls out any incoming enemy movement immediately rather than after the fact.
- Hard support: maintains and refreshes vision around the pit before, during, and immediately after the kill, and carries detection if the roster has it available.
Assigning these jobs explicitly, even with a quick one-line callout before starting the attempt, removes a huge amount of the confusion that causes pub Roshan attempts to fall apart mid-fight.
Using a Roshan Timer Tool Correctly
The Roshan timer available through DOTA2 Cheats removes the guesswork around exact spawn windows, converting mental math and half-remembered kill times into an exact, always-current countdown. That is genuinely useful and saves a lot of chat arguments about "wasn't it like ten minutes ago." What it does not do, and was never meant to do, is replace the vision, planning, and role assignment covered throughout this guide.
Use the timer as the trigger for a planning conversation, not as a replacement for one. When the countdown indicates the window is opening soon, that is the cue to check vision, confirm buyback status, and assign Aegis before walking toward the pit, not the cue to blindly walk five heroes into a contested area with no further thought. Combine the timer with actual position awareness from the Hero ESP guide and cooldown tracking from the cooldown tracking guide for the fullest picture of whether an attempt is actually safe right now.
See it in action on the demo page, and check the FAQs if you run into setup questions specific to the timer overlay rendering correctly.
Common Roshan Throws
A few patterns show up over and over in pub replays where a team had every advantage and still lost the objective, or worse, lost the game immediately after winning it.
Splitting up right after the kill
Covered above, but worth repeating because it is genuinely the single most common Roshan-adjacent throw in pub games: killing Roshan and then five players farming five separate camps instead of using the Aegis window as a team.
Fighting inside the pit itself
The pit is a terrible place to get caught in a contested fight, with limited escape routes and no useful terrain advantage for most heroes. If the enemy shows up mid-kill, disengaging toward open ground is usually better than trying to finish Roshan while getting focused in a cramped space.
Ignoring the next timer entirely
Teams that get one Aegis and then completely forget to track the next spawn window often let the enemy team take an uncontested second or third Roshan later, undoing the tempo advantage the first kill was supposed to buy.
Taking Roshan instead of a more urgent objective
Sometimes a contested tower or an available high ground push is simply worth more right now than Roshan is. Treating Roshan as automatically the top priority objective, regardless of game state, is its own kind of tunnel vision.
Reading the Enemy's Roshan Intentions
Just as your own team should plan around the timer, assume the enemy is doing the same thing. If enemy heroes start grouping up and moving toward the pit area on a timer that lines up with a likely respawn, that is a strong signal worth reacting to rather than ignoring. Contesting an enemy Roshan attempt in progress, when your team has better vision and cooldown availability than they realize, can be one of the highest value plays available in a close game.
Watching enemy hero positions relative to the pit, combined with your own timer knowledge, lets you make an informed call about whether to preemptively ward the area, stage an ambush nearby, or simply avoid the area entirely if you are not prepared to contest. Passive awareness of the enemy's likely Roshan plans is just as valuable as active planning around your own.
Smoke Ganks Around the Pit
Smoke of Deceit removes normal vision detection for the smoked team, which makes the area around Roshan one of the most common staging grounds for an ambush precisely because so many teams naturally converge there anyway. A team that has just killed Roshan and is standing around celebrating, half paying attention, is an easy target for a smoked squad that timed their approach around the expected kill window.
Defending against this requires treating the moments immediately after a Roshan kill as vulnerable rather than safe. Even with Aegis in hand, a team caught off guard by a well-timed smoke ambush right after the kill can lose the Aegis carrier and the tempo advantage in the same fight. Maintaining loose formation and actual map awareness for the thirty seconds after a kill, rather than clustering tightly and assuming the danger has passed, meaningfully reduces this risk.
On the offensive side, using smoke to set up your own Roshan contest against an enemy team that is mid-kill is one of the higher value plays available once you have timer knowledge and rough hero position data suggesting the enemy is currently occupied at the pit. A smoke approach timed against a known Roshan window converts a passive timer read into an active, game-swinging play.
Communicating Roshan Plans to a Silent Team
Pub communication is inconsistent at best, and a Roshan attempt is exactly the kind of coordinated action that falls apart without at least minimal shared intent. You do not need a perfectly coordinated team to run a decent Roshan attempt, but you do need to communicate the basics: that an attempt is starting, who is receiving Aegis, and what the plan is immediately afterward.
Even a single clear ping and a short chat message, something as simple as "rosh now, offlane gets aegis, push mid after," dramatically improves outcomes compared to five players independently deciding to walk toward the pit with no shared plan at all. If your team genuinely will not respond to typed communication, pinging the map at the pit location and then physically walking that direction together still communicates intent far better than silently hoping everyone notices and follows.
The reality of solo queue is that you often cannot force coordination, but you can consistently offer it, and teams that have at least one player consistently calling clear, simple plans around objectives like Roshan tend to execute those plans successfully more often than teams where nobody says anything at all.
Aegis Timing in Very Long Games
Games that stretch past the fifty or sixty minute mark change the Roshan calculus again. Aegis becomes extremely valuable in these games because a single extra life during a decisive late-game teamfight, often fought around a megacreep wave or a final base push, can be the entire difference between winning and losing the match outright. At the same time, both teams are usually fully aware of every Roshan timer by this point in the game, making uncontested kills rare.
In these extended games, consider stacking Roshan value with a planned push rather than taking the kill in isolation. If your team can time a Roshan kill to land moments before a scheduled push with lane creeps already built up, the Aegis-holder's extra survivability applies directly to the push itself rather than being spent defensively on the walk back from the pit. This kind of layered timing separates teams that consistently close out long games from teams that keep winning fights but never quite finish.
Building the Habit Across a Full Season
None of the individual pieces in this guide are complicated on their own. Checking vision before committing, assigning Aegis in advance, tracking the next timer, and reading buyback status are all simple, mechanical habits rather than deep strategic insights. What separates players who consistently profit from Roshan over a full season from players who get inconsistent results is simply whether these habits are applied every single time or only when someone happens to remember.
A practical way to build this consistency is to treat Roshan the same way you would treat last hitting or item timing: as a repeatable process rather than a judgment call made fresh every single game. Before your next queue, mentally rehearse the checklist once. During the game, apply it at the first real Roshan opportunity rather than waiting until it feels natural. Over enough games, the checklist stops feeling like a checklist and simply becomes how you play, which is exactly the point where the extra MMR from better objective decisions starts showing up consistently rather than occasionally.
Where to Go Next
For general vision principles that apply well beyond just the Roshan pit, read the ward vision guide in full. For understanding what enemy heroes can actually do to punish a bad pit attempt, the cooldown tracking guide pairs directly with everything covered here. For the setup behind the overlay tools referenced throughout, see the features page and the demo, and check the FAQs for common setup questions.
Official mechanics, exact respawn timing formulas, and patch history for Roshan are maintained on Liquipedia's Roshan page, which is worth bookmarking as the authoritative source separate from any tool-specific guide. Roshan will always reward preparation over impulse, and that principle holds true whether you are using a timer overlay or tracking everything manually with a stopwatch and a good memory.